

Product Description
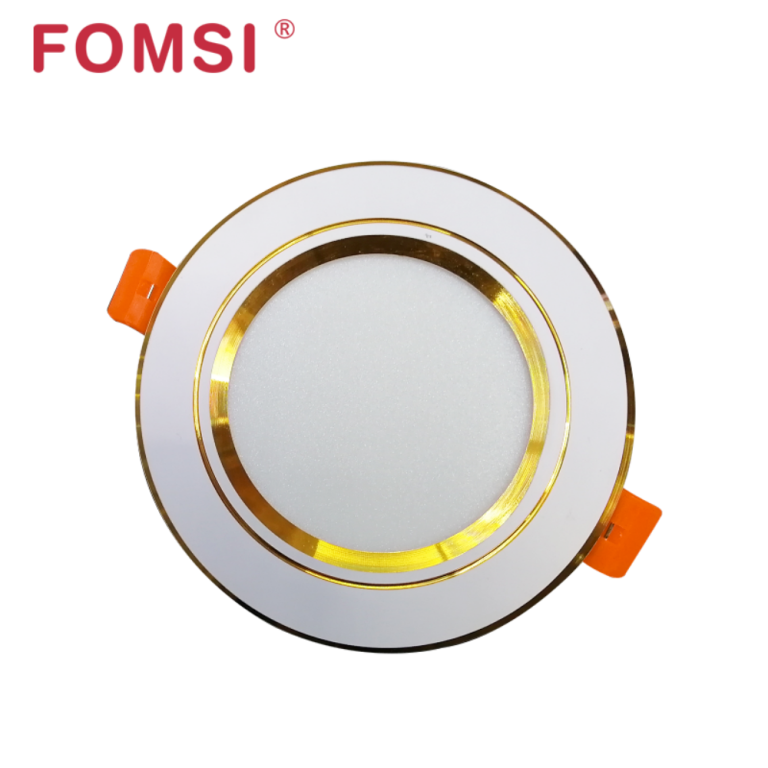
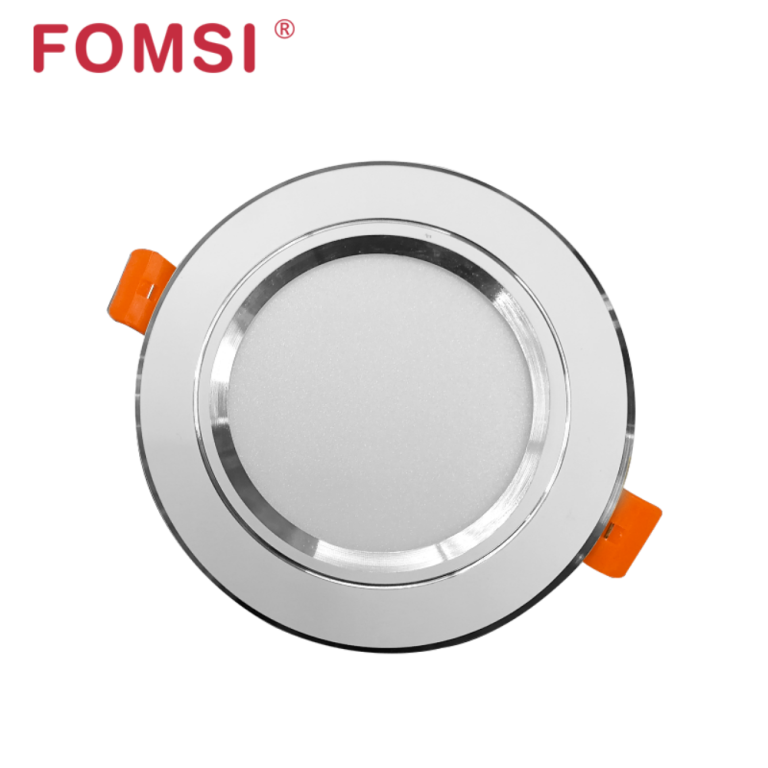
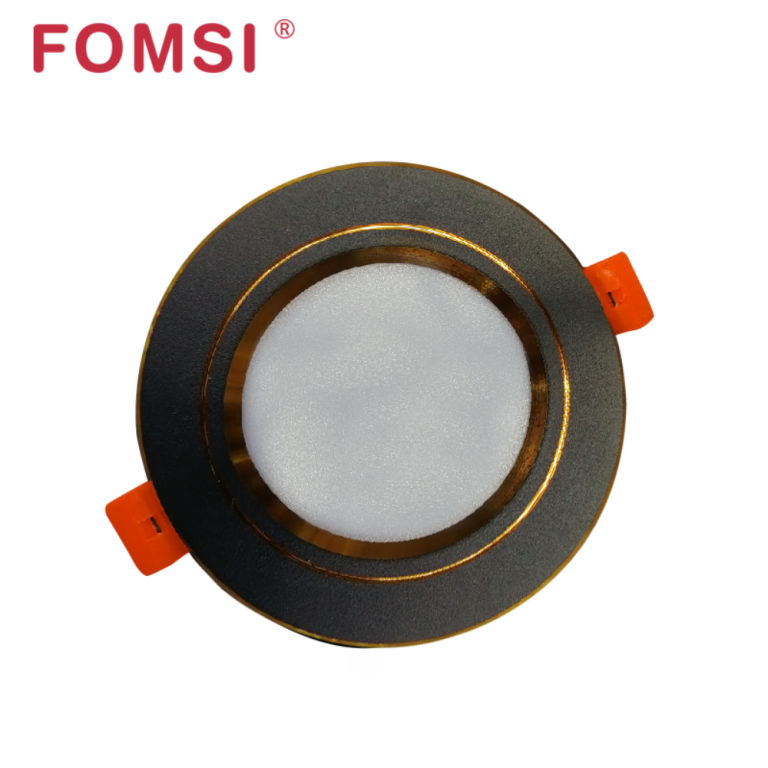
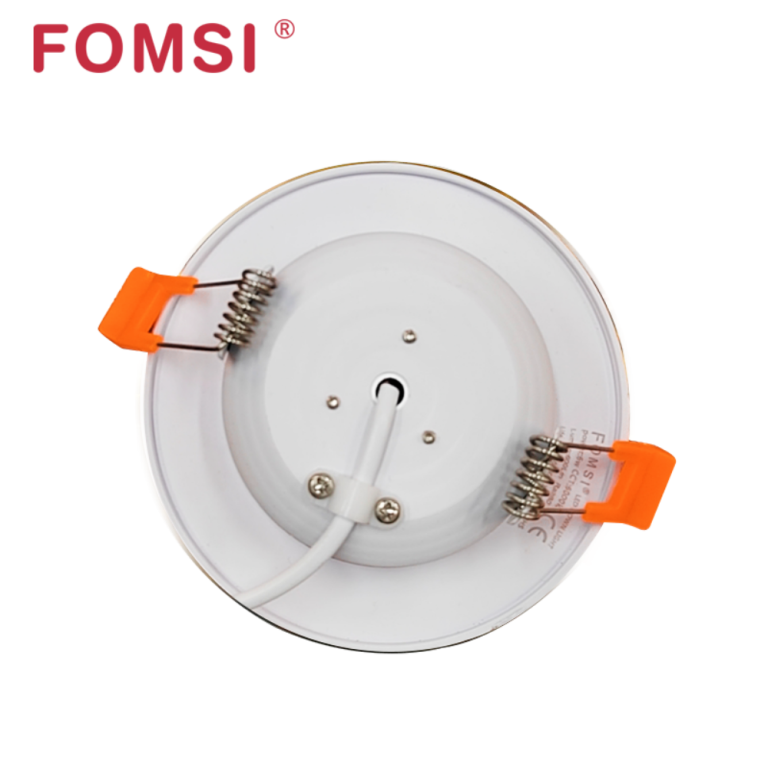
Fomsi 6W/12W spotlight LED recessed lights LED downlights are the perfect choice for any space. With 3000 hours of long-lasting durability and a Ra rating of 80+, you can be sure that these lights will stay bright and vibrant for years to come. The UV-free design makes them ideal for hospitals, conference rooms, and other spaces where aesthetics are important. The versatile design allows you to choose from 6W/12W wattages to fit your needs. With these LED downlights, you can be sure to get bright, long-lasting lights with the perfect aesthetic for any room.
Product Specification
| Watt | 6W/12W |
| Voltage | AC85-265V, AC185-265V |
| Size | round/ square |
| Lumen | 110lm/W |
| Lifetime | 3000 hours |
| Ra | 80+ |
Product Features
Installation of LED Downlights
1. Safety first: Before starting the installation, ensure that the power to the area where you’ll be working is turned off at the circuit breaker to avoid any electrical accidents.
2. Choose the right location: Determine the ideal placement for your LED downlights. Consider factors such as the layout of the room, the desired lighting effect, and any existing wiring or fixtures.
3. Measure and mark: Use a measuring tape and a pencil to mark the exact locations where the downlights will be installed. Ensure that the markings are aligned and evenly spaced.
4. Cut the holes: Using a hole saw or a suitable cutting tool, carefully cut out the marked holes in the ceiling for each downlight. Take caution to avoid damaging any electrical wiring or structural elements.
5. Wiring: If there is existing wiring in the ceiling, connect the wiring to the downlight’s junction box according to the manufacturer’s instructions. If there is no existing wiring, consult a licensed electrician to install the necessary wiring.
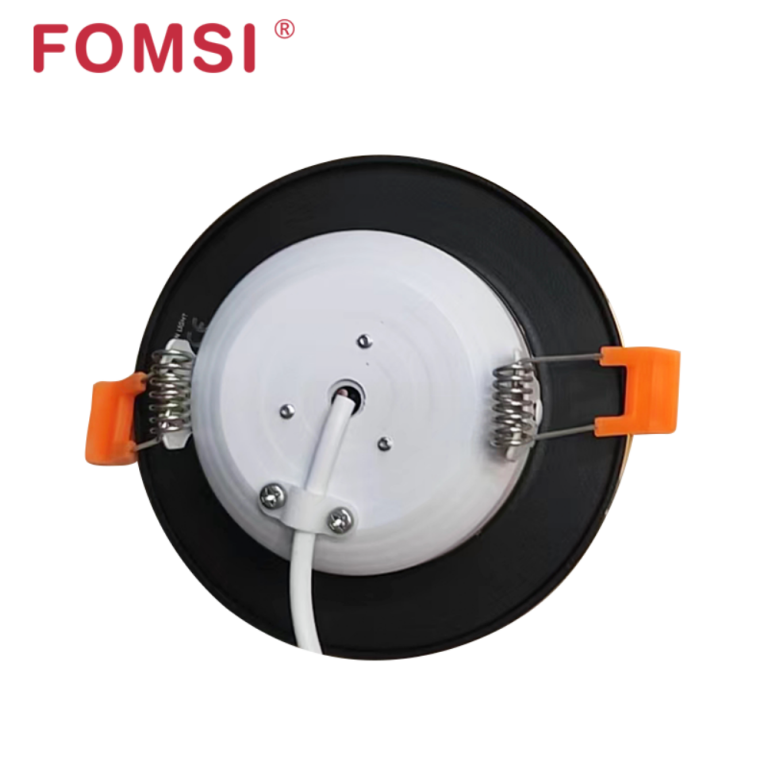
6. Secure the downlights: Insert the LED downlights into the cut holes, ensuring that they fit snugly. Many downlights come with spring clips or mounting brackets that secure them in place. Follow the manufacturer’s instructions for proper installation.
7. Connect the power: Once the downlights are securely in place, connect the wiring to the power source. Double-check that the connections are secure and insulated to prevent any electrical hazards.
8. Test and adjust: Turn on the power and test each downlight to ensure they are functioning correctly. If needed, adjust the positioning or angle of the downlights to achieve the desired lighting effect.
9. Finish the installation: If provided, attach any trim or decorative elements to the downlights to complete the installation. These can enhance the appearance of the downlights and blend them seamlessly with the ceiling.
Always refer to the specific instructions. If you are unsure or uncomfortable with any aspect of the installation process, it is recommended to consult a licensed electrician for assistance.

The rise of the Fomsi brand since 2008.For more than ten years, Fomsi has developed rapidly and surpassed its competitors in the market.

The rise of the Fomsi brand since 2008.For more than ten years, Fomsi has developed rapidly and surpassed its competitors in the market.

The rise of the Fomsi brand since 2008.For more than ten years, Fomsi has developed rapidly and surpassed its competitors in the market.
